Activeinspire is an amazing teaching and learning tool with an intuitive dashboard that gives you an assortment of features. One of the best parts about using ActivInspire is that it offers users a customisable interface. This means that you can change the layout of the application and personalize different toolbars, so it’s easier for you to customise what you need to teach.
Learn more below. ⬇️
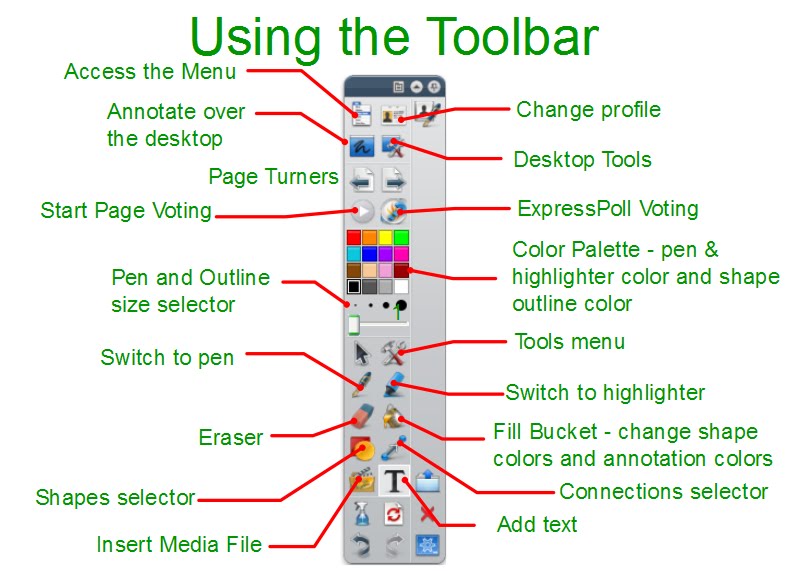
Toolbar
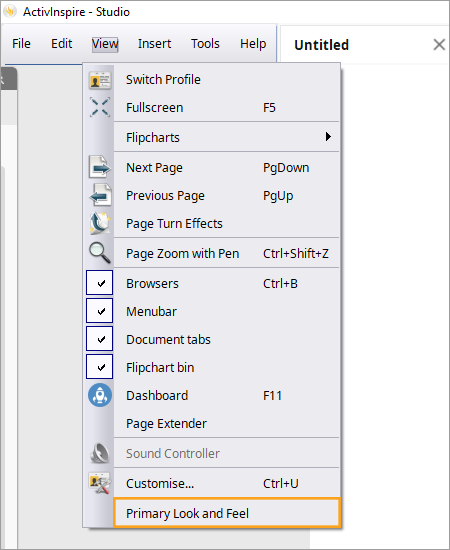
Not crazy about the tools on your toolbar? Well, you can change it to whatever you like. Access the menu, select ‘View’, select ‘Customise’. From here, you can make your toolbar exactly the way you want it.

Browsers
There are seven pictures on the top of the browser. They will each be listed and defined in the order they appear.
1) Page browser: This shows you all of the pages in your flipchart. You can skip around your flipchart using this feature. You can also reorder your pages by dragging and dropping in the page browser. On the top right hand side of each page, there is a rectangle with a page on it. By clicking on this rectangle, you can add or delete pages, duplicate a page, of if you know you will use this page over and over again, you can add it to your resource library.
2) Resource browser: This is where you can find gold in ActivInspire!!! Using the resource browser, you can add backgrounds, clipart, sounds, different resources for subjects, flipcharts, activities, templates, grids, and much more.
3) Object browser: In the object browser, you can see every image, text, and shape. Also, this is where you can move objects from layer to layer by simply clicking and dragging to the new desired layer. Here, you can see which object is in the top, middle, or bottom layer.
4) Notes browser: Here the author of a flipchart can give directions to students and/or teachers.
5) Property browser: Here, you can find the identification of an object or rename an object. This is for advanced users. Here, you also set containers and make objects follow paths or “snap” back. When you understand this feature fully, you can make great interactive, self-correcting lessons.
6) Action browser: You can select an image, text, or shape and assign an action to that particular object. You can also access the drag and drop menu from here. Play around with this great feature, it’s easy to use, and you can’t mess anything up.
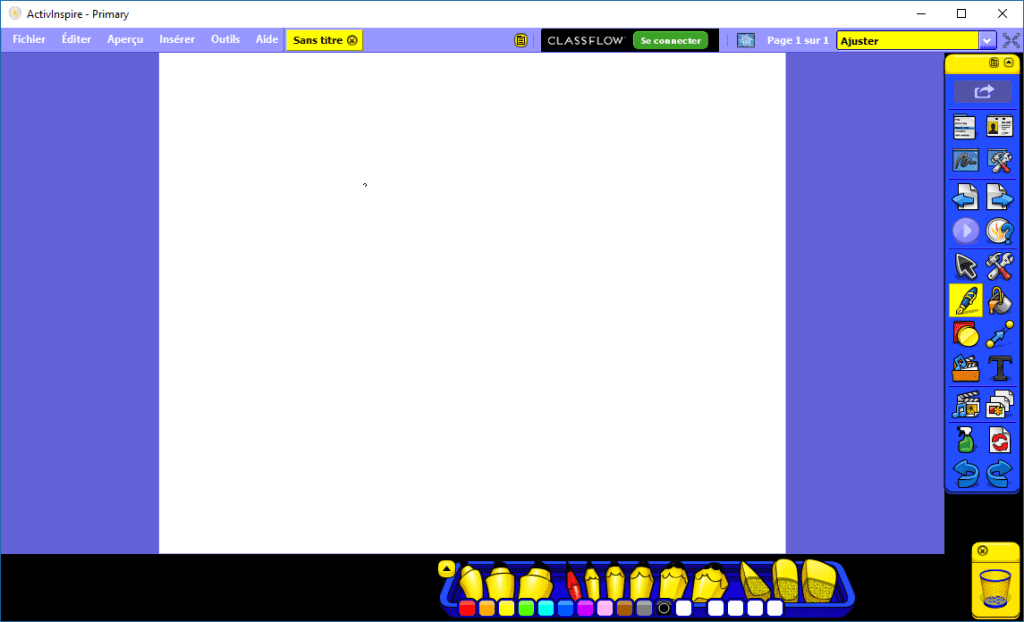
Lastly, if you want to change the look of the interface from grey to blue (Primary) click on Edit and ‘Look and Feel’
Check out some of the videos in the playlist below on how to use Activeinspire and getting the most out of the application.