How do I create a new Whiteboard?
After you’ve opened the web version in your browser, sign in with your work Account.
When you launch the Whiteboard web you’ll start with the board picker:
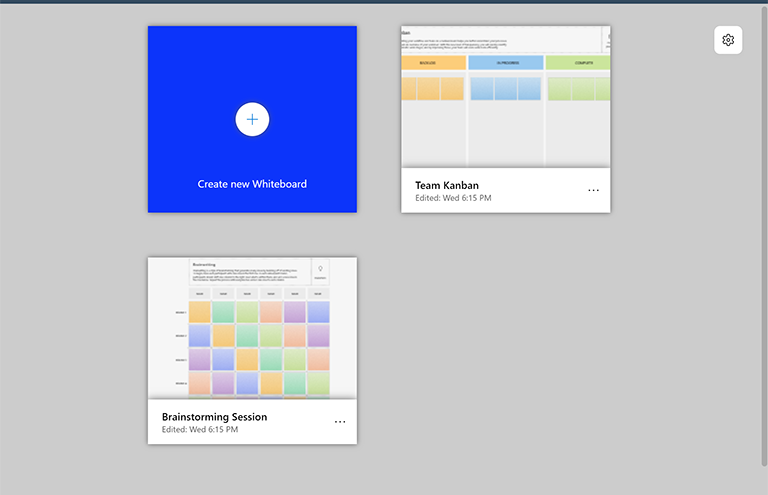
Here, you can find all the whiteboards that you’ve previously created or accessed. To create a new board, select the Create new Whiteboard tile.
What are the basic areas of Whiteboard?
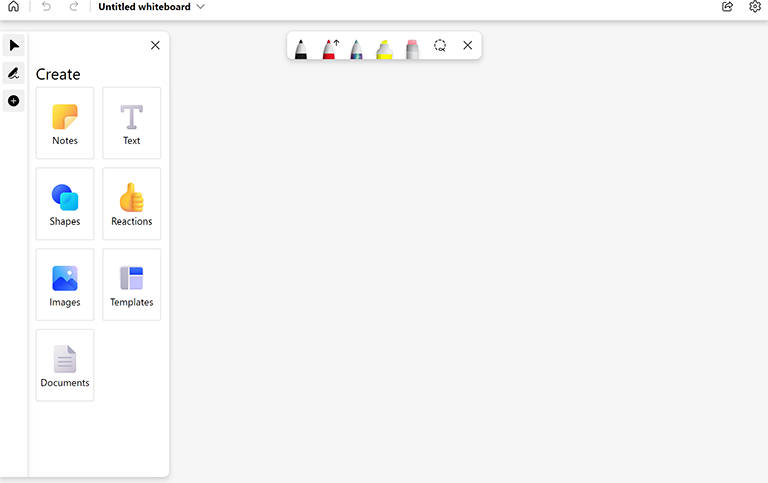
Here’s an example of a freshly created whiteboard that’s ready for your ideas:
Left side: Here, you will find the ability to select pointer or inking mode, as well as expand or collapse the Create panel. The Create panel lets you add items to your board, such as sticky notes, text, images, shapes, and more.
Top center: This is where you will find the different ink options available. There are three pens that you can choose from, you can customize their color and thickness, and choose whether the pen draws arrows. You can also find the highlighter, eraser, and lasso tools here. Use the latter to select multiple items on the board.
Top left: Here, you can select Home to go back to the board picker, undo or redo your last action, or change the name of your current board.
Top right: Use the Share link here to get a link that you can share with others to collaborate on your current board. In Settings, you can do things like export the board to an image, format the board’s background, and access Help.